clutch kits parts
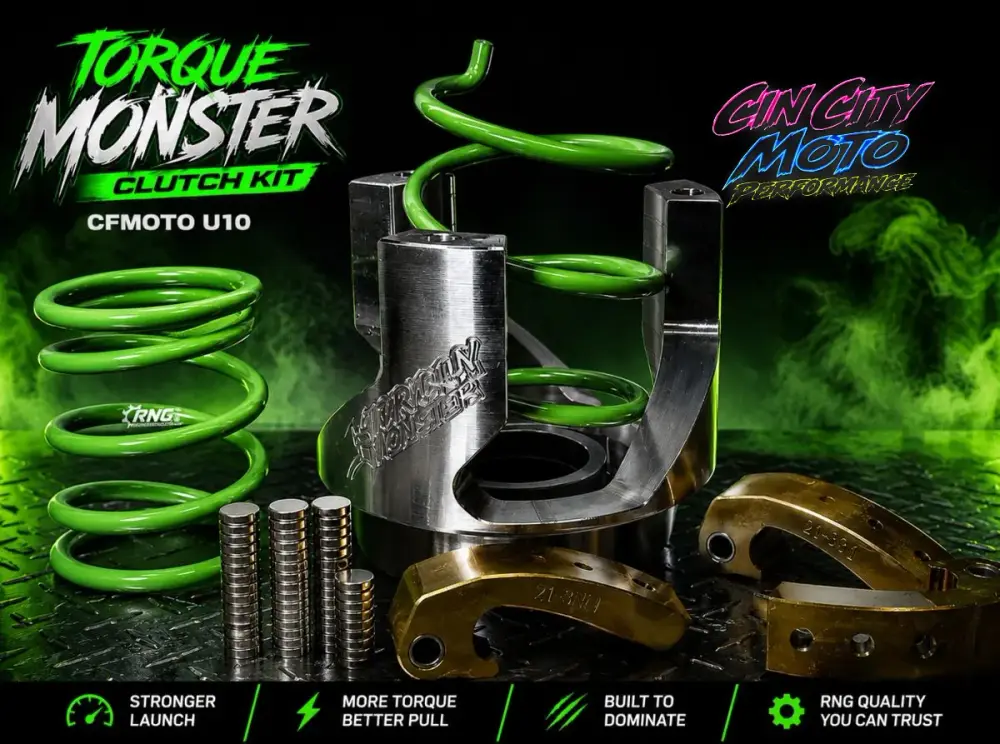
CFMOTO U10 Pro/Highland/XL Complete UPGRADE Clutch Kit
Complete upgrade clutch kit for 2025+ CFMOTO U10 Pro/Highland/XL. Adjustable weight arms, helix, springs, magnets. Custom-built for your riding style.
$569.99
Select Options  Authorized RNG DealerAuthorized RNG Performance Dealer· 2-3 day shipping from Cincinnati· Don't see your part? Call 513-458-9614
Published July 5, 2025
The CFMOTO U10 Pro, Highland, and Highland XL all use the OmniDrive CVT clutch system. This is not the same as the CVTech (Trailbloc) system found on older CFMOTO models. The tools, procedures, and kit components are different. Make sure you have the correct kit for your machine before you begin, the RNG Performance U10 Pro/Highland/XL upgrade clutch kit is specifically designed and calibrated for these OmniDrive-equipped models.
Plan for 2-3 hours for the installation if this is your first time. Experienced wrenchers can do it in about an hour. Work in a clean, well-lit space with a flat, level surface. The CVT components must be kept clean, dirt and debris inside the clutch housing will cause premature wear and belt damage.
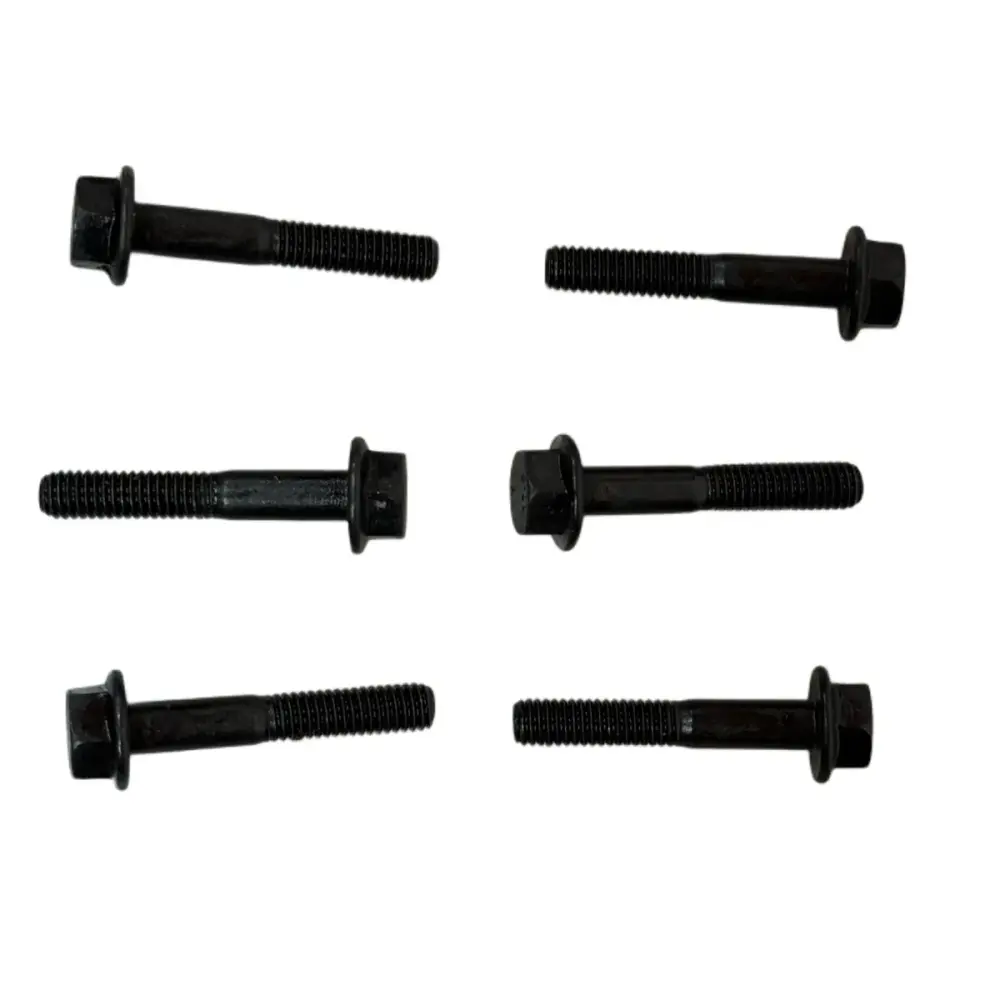
Note on the clutch bolt: The factory clutch bolt on OmniDrive primaries is known to be a weak point. RNG Performance offers a clutch bolt upgrade kit with a higher-grade bolt and proper washer. If you are already pulling the primary clutch, this is the time to upgrade it. A failed clutch bolt on the trail is a catastrophic and dangerous failure.
Disconnect the battery as a safety precaution. Remove the bolts securing the CVT (outer) cover. On the U10 Pro, these are 10mm bolts around the perimeter of the cover. Keep track of bolt locations, some may be different lengths. Pull the cover straight off. If it is stuck, tap gently with a rubber mallet around the edges. Do not pry with a screwdriver, you will damage the sealing surface.
With the cover off, inspect the inside for debris, mud, or water. If you find water or mud inside the CVT housing, your intake or seals need attention before you reassemble. Clean the interior thoroughly.
Remove the CVT belt by rolling it off the secondary clutch sheaves. Note the direction of travel markings on the belt if present. Set the belt aside on a clean surface.
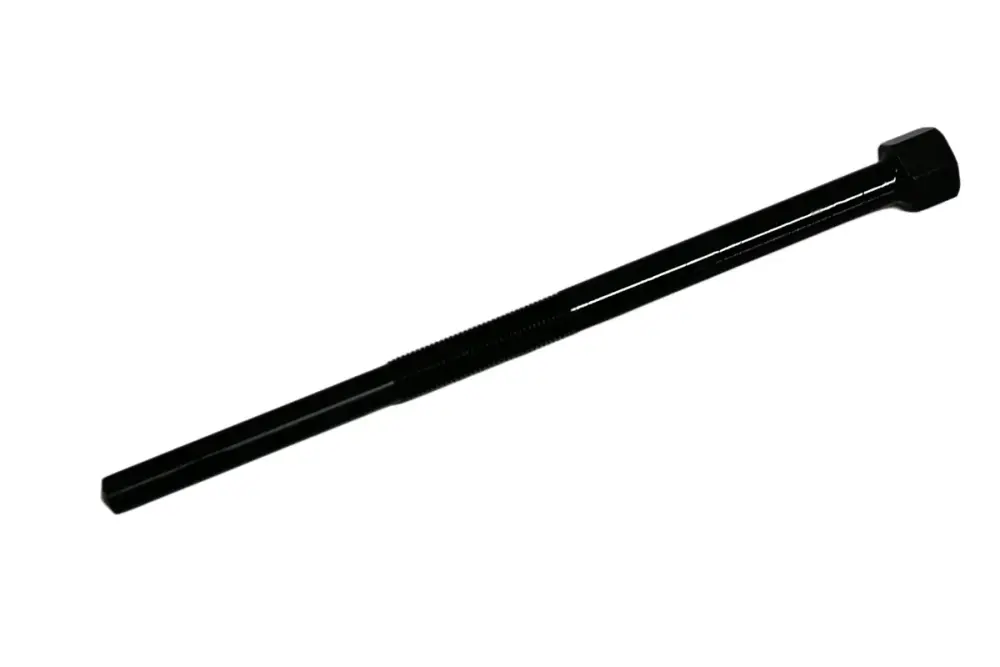
Use the RNG OmniDrive drive pulley remover tool to remove the primary clutch from the crankshaft. Thread the remover tool into the center of the primary clutch according to the tool instructions. The primary clutch bolt is torqued to factory spec and may require an impact wrench to break free. Once the bolt is out, the remover tool presses against the crankshaft end to pull the clutch off the tapered shaft.
Do not use a gear puller, jaw puller, or hammer on the primary clutch. The OmniDrive primary must come off straight and clean, or you risk damaging the crankshaft taper, a repair that requires engine disassembly.
With the primary off, clean the crankshaft taper with brake cleaner and a lint-free cloth. The taper must be clean and dry (no oil or grease) for proper clutch seating on reinstallation.
Follow the RNG Performance kit instructions for your specific stage. Generally, the process involves:
Reconnect the battery and start the engine briefly to verify the belt tracks correctly. Listen for any unusual noises, grinding, squealing, or rubbing indicates something is not seated properly.
New clutch kits require a break-in period for the belt to seat properly against the new sheave surfaces. For the first 20-30 miles, avoid full-throttle runs and aggressive riding. Vary your speed and throttle position to allow the belt to wear into the clutch faces evenly.
After the break-in period, check the belt deflection and inspect the CVT housing for any debris or unusual wear patterns. The belt may stretch slightly during break-in, which is normal. Recheck after 50 miles and again at 100 miles.
If you notice belt dust accumulating inside the CVT housing, it is normal during break-in. Excessive dust after break-in indicates a calibration issue or belt quality problem, contact RNG Performance or our team at 513-458-9614 for troubleshooting.
clutch kits parts
Complete upgrade clutch kit for 2025+ CFMOTO U10 Pro/Highland/XL. Adjustable weight arms, helix, springs, magnets. Custom-built for your riding style.
clutch tools
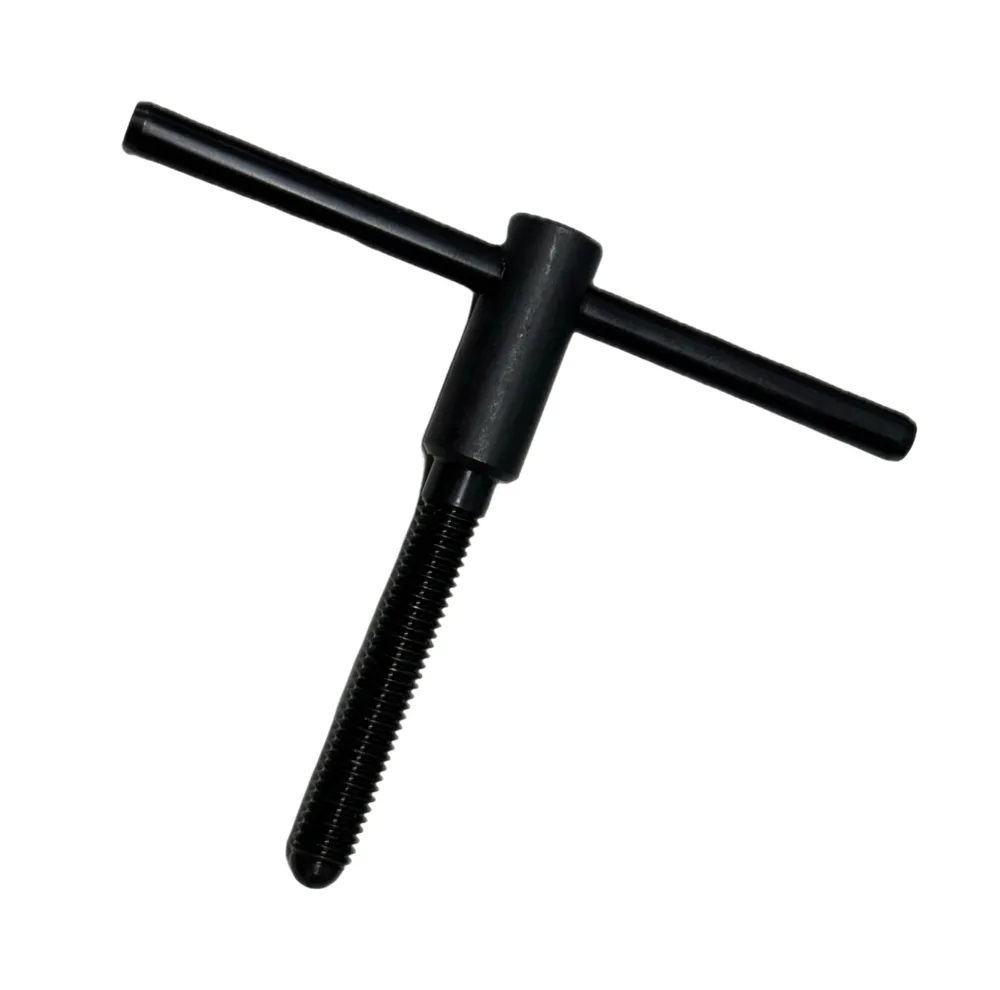
Secondary spreader tool for CFMOTO OmniDrive clutch. Used for belt changes and clutch service.
clutch tools
Primary clutch puller for CFMOTO OmniDrive clutches. OEM 0JWF-050000-922-001A.
clutch kits parts
Clutch bolt upgrade kit for CFMOTO OmniDrive primary clutch. Fits 2024+ Gen 3 CForce, UForce 800 XL, 2025+ U10 models.