clutch tools
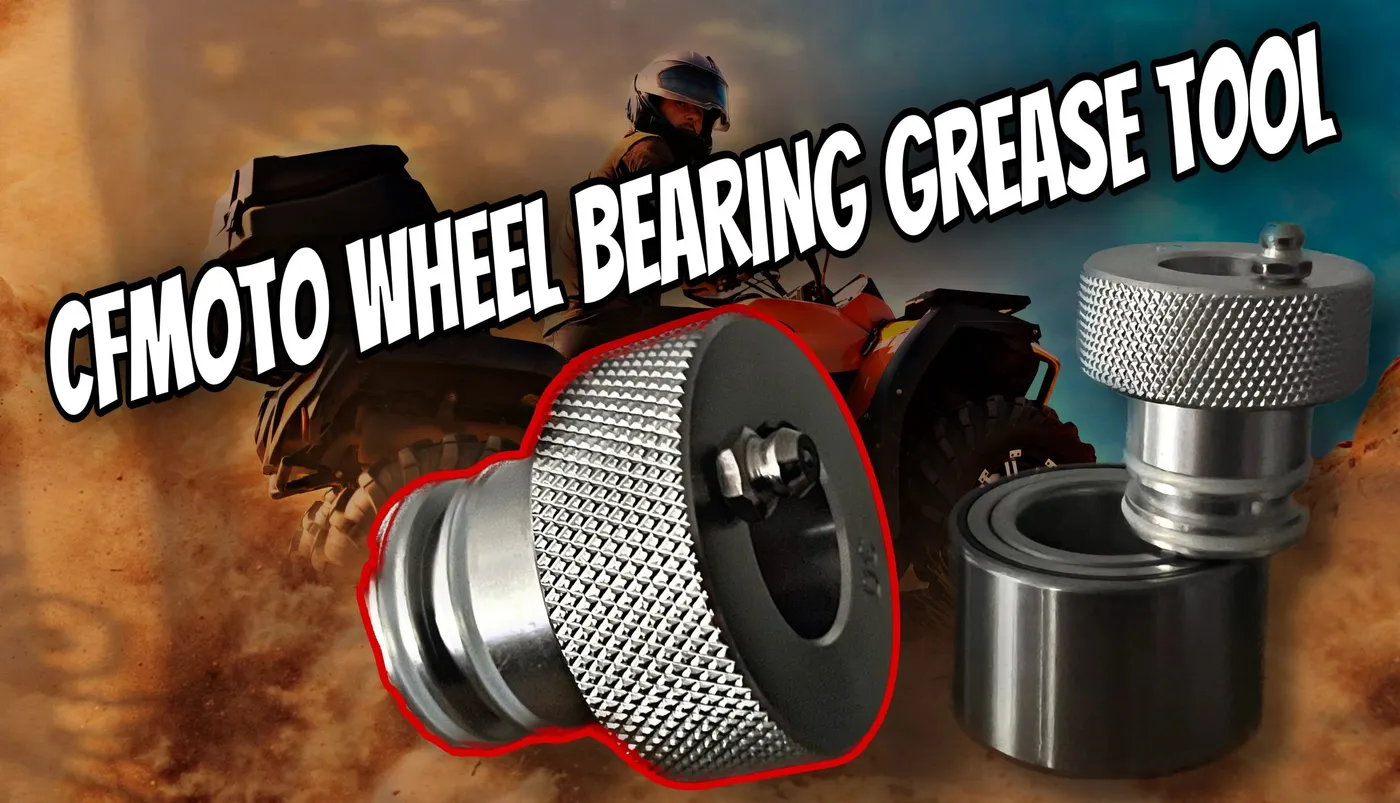
Wheel Bearing Grease Tool (ALL CFMOTO ATV/UTV)
Wheel bearing grease tool for ALL CFMOTO ATVs and UTVs. Does NOT fit U10/Z10.
$38.95
 Authorized RNG DealerAuthorized RNG Performance Dealer· 2-3 day shipping from Cincinnati· Don't see your part? Call 513-458-9614
Updated August 19, 2026
The CV (constant velocity) boot is a rubber or thermoplastic bellows that covers the CV joint on each axle. Its job is to keep grease in and dirt, water, and debris out. When a boot tears, the joint loses its lubrication and gets contaminated, both of which lead to rapid wear and eventual joint failure.
The most obvious sign of a torn boot is grease splattered around the axle area, on the inside of the wheel, or on the frame near the CV joint. Fresh CV grease is typically dark green or black and has a distinctive smell. If you see grease flung in a pattern radiating outward from the axle, a boot is torn and the joint is slinging grease as it spins.
Other signs include clicking or popping sounds when turning (especially at low speeds), vibration at speed, or a noticeable clunk when shifting from forward to reverse. These symptoms indicate that the CV joint itself is already damaged, the boot likely tore some time ago and the joint has been running dry and contaminated. At this stage, a boot repair alone will not fix the problem. The joint or full axle needs replacement.
Inspect your CV boots regularly, before every ride is ideal, but at minimum during each scheduled service. Catching a tear early, before the joint is damaged, saves you from a much more expensive axle replacement.
A CV boot patch kit (also called a split boot or quick boot) is a repair option that lets you fix a torn boot without removing the axle from the vehicle. Patch kits use a pre-split boot that wraps around the axle shaft and is secured with adhesive and clamps. The advantage is speed and simplicity, you can install one trailside in an emergency or in your garage in under 30 minutes per boot.
However, patch kits are a temporary fix, not a permanent repair. The adhesive bond on a split boot is never as strong as a one-piece boot, and the seam is a potential failure point, especially under the harsh conditions UTVs operate in. Heat, UV exposure, mud, and constant flexing degrade the adhesive over time. A patch boot might last a season of light use, but it is not a reliable long-term solution for a machine that sees hard riding.
A full boot replacement involves removing the axle, removing the old boot, cleaning and inspecting the CV joint, repacking the joint with fresh grease, and installing a new one-piece boot with proper clamps. This is the correct repair for any boot failure that you want to fix permanently. It takes 1-2 hours per axle and requires basic hand tools plus CV boot clamp pliers.
The decision framework is simple:
If you are using a split boot patch kit, the process is relatively straightforward. Clean the area around the torn boot as thoroughly as possible, use brake cleaner or degreaser to remove old grease, mud, and debris from the axle shaft and joint housing. The adhesive will not bond to contaminated surfaces.
Remove the old boot and clamps. Wipe the CV joint clean and inspect it, look for pitting, scoring, or excessive play. If the joint feels loose or gritty when you rotate it by hand, it is damaged and a boot replacement alone will not save it.
If the joint looks good, repack it with fresh CV grease. Use the type and amount specified by the patch kit or the axle manufacturer. Too little grease means inadequate lubrication; too much can cause the boot to balloon and tear again.
Wrap the split boot around the axle shaft and joint according to the kit instructions. Apply adhesive to the seam as directed and secure both ends with the provided clamps. Band-style clamps are more reliable than the ear-type clamps included with some kits, consider upgrading the clamps if the kit comes with cheap ones.
Let the adhesive cure for the recommended time before driving. Rotate the axle by hand a few times to verify the boot flexes without binding or pulling apart at the seam.
Preventing CV boot tears is far cheaper and easier than repairing them. Most boot failures on UTVs are caused by debris impacts, excessive suspension articulation, and heat damage. Here are practical steps to extend boot life:
CV boot failure is not evenly distributed across the CFMOTO lineup. The heavier utility machines, the UForce 1000 and 1000 XL and the U10 Pro, carry more weight over the same joints and spend more time at full suspension droop under load, which is when boot pleats stretch furthest. The sport machines, ZForce 950 and Z10, see less static load but far more suspension travel and impact, so their failures tend to come from strikes rather than fatigue.
On the CForce ATVs the front boots are the ones to watch. They sit low, they are the first thing through a rut, and on the 400-600 class they are close enough to the A-arm that a stick pushed up between the arm and the axle will slice a boot cleanly without leaving any other damage behind.
Regardless of model, check the inner boots as carefully as the outer ones. Inner boots fail quietly, the grease slings onto the frame and skid plate rather than the wheel, so the usual "grease on the inside of the rim" tell does not show up until the joint is already dry.
This is the single most common reason a CFMOTO owner tears boots repeatedly after never having a problem from the factory. Lifting a machine does not just raise the body, it changes the operating angle of every CV joint. The axle still has to reach from the differential to the hub, so with the body raised the joint runs at a steeper angle through its whole range of travel, and the boot pleats on the outboard side compress harder at full droop.
A modest lift of an inch and a half is generally within what the stock boots tolerate. Past about two and a half inches you are asking the joint to work at an angle it was not designed around, and boot life drops noticeably, particularly on the front axles of the UForce and U10 Pro where steering angle stacks on top of lift angle.
If you run a lift, three things materially extend boot life: check the boots after every muddy ride rather than at scheduled service, avoid holding full steering lock under power (that is the worst-case angle combined with the worst-case load), and replace a boot at the first sign of cracking on the pleat edges instead of waiting for a tear. None of that is a reason to avoid a lift, it just means the inspection interval that worked on a stock machine is no longer the right one.
If the CV joint is damaged (clicking, popping, vibrating), if you are not comfortable removing an axle, or if the inner CV joint (differential side) boot is torn, consider having a professional handle the repair. Inner boot replacement often requires partially disassembling the differential, and damaged CV joints require pressing out and replacing the joint or the entire axle assembly.
For CFMOTO-specific maintenance parts, including oil filters, air filters, belts, and other consumables that keep your machine running right, browse our full catalog at Cin City Moto. Keeping up with scheduled maintenance is the best way to avoid surprise repairs on the trail.
clutch tools
Wheel bearing grease tool for ALL CFMOTO ATVs and UTVs. Does NOT fit U10/Z10.
accessories electrical
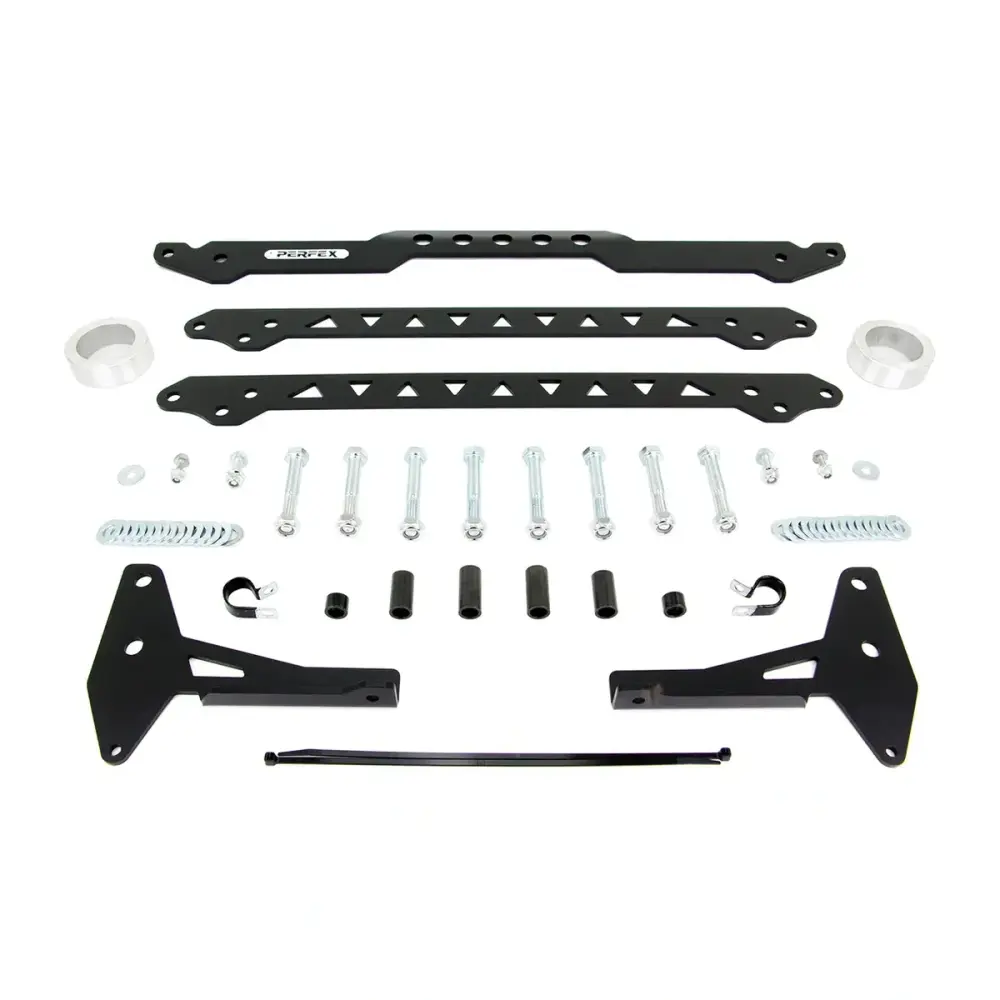
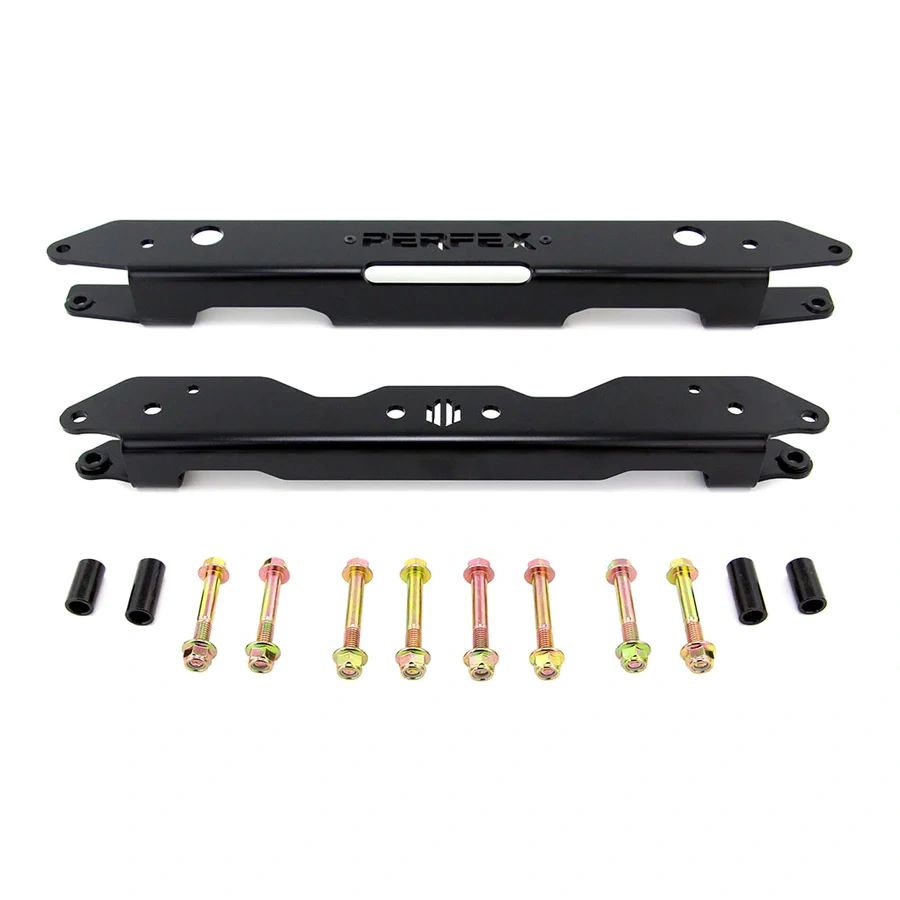
2.5-inch lift kit for 2025 CFMoto UForce U10 PRO. Heavy-duty steel brackets, bolt-on install, fits tires up to 33".
accessories electrical
1.5" suspension lift kit for 2023-2025 Gen2 CFMoto ZForce 800/950 Trail. Bolt-on, made in Canada.